
Soft-Baked Strawberry Scones (Gluten-Free, Dairy-Free)
- Our Nourished Kitchen
- 2 hours ago
- 3 min read

I mentioned this in my Strawberry Lemonade Bar Recipe but it is so worth repeating, because I still have SO. MANY. STRAWBERRIES!
Where we live, there are many local, organic strawberry farms in the summer that set aside U-pick hours for the public to come by. My daughters love U-pick strawbery days! It is so easy and fun; you pick your own berries (as many as you want) then buy them by weight. My daughters love wandering through the strawberry fields and have become seasoned strawberry pickers. Finding beautiful, ripe strawberries is as good as finding treasure. "I found a good one!" "Ooh this one has bugs in it, put it back!" "Look at this giant red one!" A few end up right in my daughters' mouths, but most make it into our containers to be weighed and paid. Here is our most recent bounty! We have been on a strawbery recipe roll this week. Next up: Gluten-Free, Dairy Free Strawberry Scones (per my older daughter's request).

One of the techniques I really like using to creating mositure in baked goods is preparing a dairy-free "buttermilk". This techniqure is incredibly easy to do, you just need some non-dairy milk (I use almond) and a little bit of apple-cider vinegar. When combined, the vinegar curdles the almond milk similarly to that of traditional dairy buttermilk. This cookbook (not sponsored) is a great resource for more information about making non-dairy buttermilk: The Allergen-Free Baker's Handbook
How to make these Gluten-Free, Dairy-Free
Soft-Baked Strawberry Scones
Prepare the Non-Dairy "Buttermilk" and Freeze the Coconut Oil: Preheat your oven to 400°F (200°C) and line a baking sheet with parchment paper. Measure your solid refined coconut oil and place it in the freezer for 10 minutes to get ice-cold. If you want a flaky scone, super cold coconut oil is crucial.
To make the "non-dairy buttermilk" get a small cup, stir together 1/4 cup of cold almond milk and 1 teaspoon of apple cider vinegar. Put this back in the fridge for 5 minutes to keep it cold.


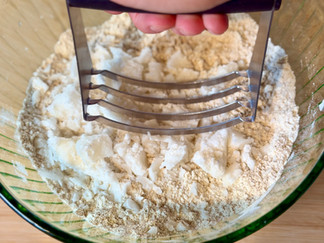
Whisk the dry ingredients and cut in the oil: In a large mixing bowl, whisk together the 1:1 gluten-free flour, 1/3 cup coconut sugar, baking powder, and sea salt until completely combined. Add the frozen solid refined coconut oil into the flour. I like to use a pastry cutter to cut the oil into the flour mixure (your fingers or a few forks will also work). You are looking for this mixture to turn into to very small bits that resemble coarse sand with small pebbles.


Toss the Strawberries: Carefully toss the chopped strawberries into the flour-oil mixture. Ensure the strawberries are well coated and combined throughout. Then add retrieve the "non-dairy buttermilk" from the fridge and add the eggs and vanilla. Pour the wet ingredients into the dry and stir with a spatula until the dough forms and no dry spots remain. The dough should feel sticky.


Create a Template: I used an 8 inch plate to draw a circle (with a pencil) on the BACK of the parchment, then flipped it over to create a perfect 8 inch diameter circular template.


Mold the Dough and Create Topping: Add a little flour to your hands (the dough will be sticky and this will help prevent it from sticking to your hands too much). Turn the dough out onto the center of the 8-inch parchment template you created. Carefully press a template to make a 1 inch thick circle.
Brush 1 tablespoon of almond milk across the top surface, then sprinkle evenly with the remaining 1 tablespoon of coconut sugar, pressing it carefully into the surface with your hand. Use a long, sharp knife slice the dough disc into 8 equal triangles. Separate them slightly so they are about 2 inches apart. Slide the entire baking sheet into the refrigerator for a full 20 minutes. Chilling them ensures the flour thoroughly absorbs the liquids, and turns the coconut oil back into a solid state for maximum flakiness.


Bake and Enjoy: Bake: Bake directly from the fridge for 15 to 16 minutes. Watch them carefully and don't over bake (I've made this mistake) as the burnt coconut sugar will cause the scones to taste bitter.
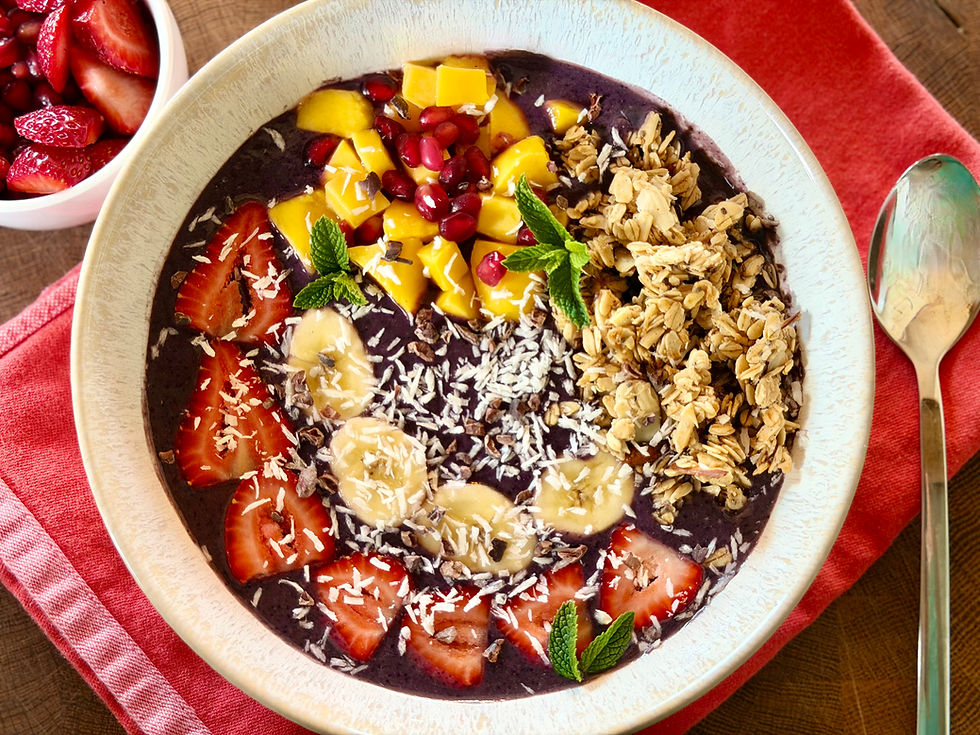
Let these cool then serve with non-dairy butter, jam, or as is with coffee or tea! (my favorite). Store them in an airtight container for up to 3 days. Re-heat them in the toaster oven for a few minutes and they will taste freshly baked.


Comments