
Cinnamon Maple Gluten-Free Pancakes (Dairy-Free)
- Our Nourished Kitchen
- May 24
- 3 min read
Updated: May 31
My family loves pancakes! I have tested SO. MANY. gluten-free and dairy-free pancake recipes! Finding a gluten-free and dairy-free recipe that actually turns out light and airy can feel like an impossible mission. Most allergy-friendly pancakes end up dense, gummy, or rubbery—but this recipe changes everything.
By blending traditional 1:1 gluten-free baking flour with a touch of almond flour and tapioca starch, you get the ultimate fluffy, gluten-free (and dairy-free thanks to the almond milk) pancakes. Infused with warm cinnamon, vanilla, and pure maple syrup, these pancakes cook up beautifully tender with a cozy, comforting flavor. Whether you fold in juicy wild blueberries or top your stack with a drizzle of nut butter, this quick and easy recipe is bound to become your family’s new favorite breakfast tradition.
Just like my waffles, these are great to make on slower weekend mornings! Meal prepping these pancakes is an absolute timesaver for busy weekday mornings and a regular strategy in our house. My kids love having these on weekdays before school! Start the morning with a nourishing meal that fuels your family's busy day ahead.
How to Make these Delicious Pancakes
Mix up your dry ingredients: I like using a combination of 1:1 gluten-free baking flour, almond flour, and tapioca flour. I find this combination helps provide a nice base, without being too dense or rubbery. Whisk in the cinnamon for a deep, warm flavor, the baking powder (crucial for "fluff" in gluten-free baking), and salt.

Combine your wet ingredients and add them to the dry ingredients: almond milk, avocado oil, maple syrup, vanilla, and apple cider vinegar. I have tested both avocado oil and coconut oil in this recipe and prefer the neutral flavor that avocado oil provides.
This recipe has just enough maple syrup to add sweet notes to the pancakes without being too sweet. If desired, you can absolutely dial back the maple syrup to only 1 TBSP and still have a delicious pancake with a slight hint of sweetness.
Let the batter rest for about 5 minutes. Don't skip this step.


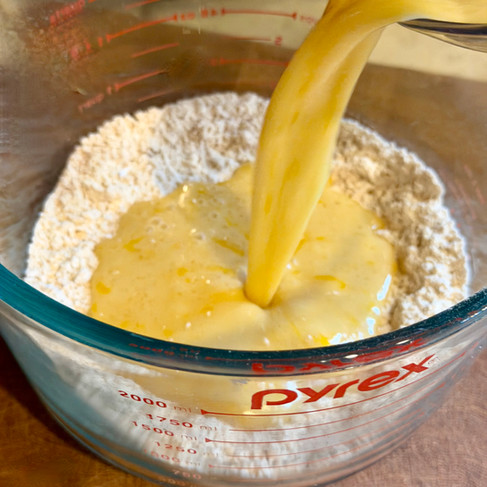
After 5 minutes, your batter will be full of air bubbles. This shows that the apple cider vinegar has reacted with the baking powder, setting you up for the ultimate fluffy, gluten-free, dairy-free pancakes!

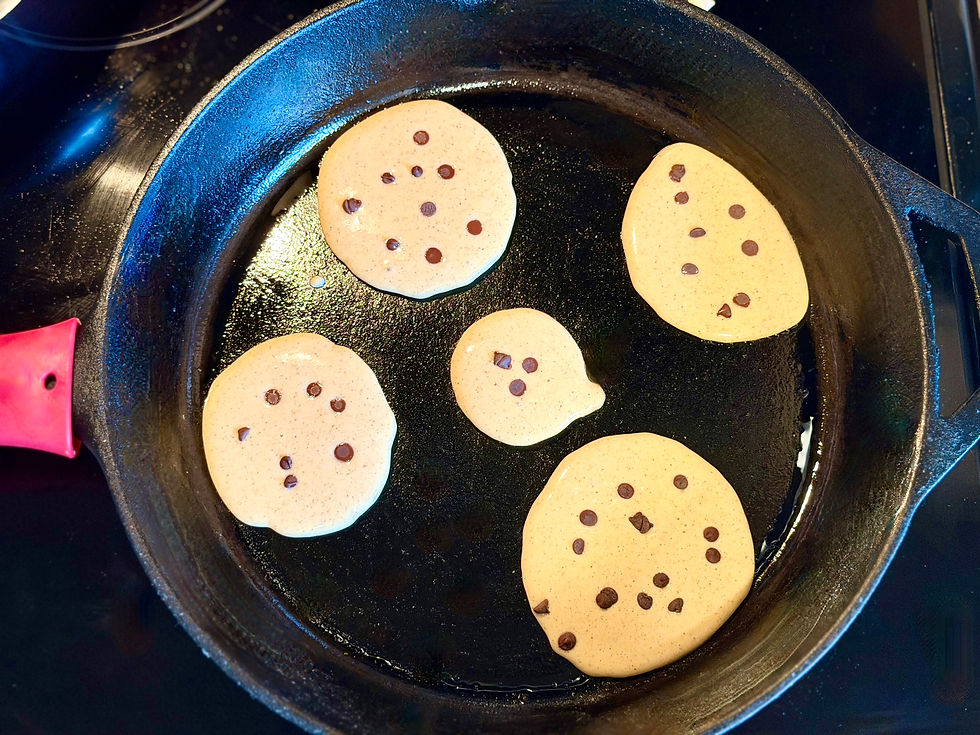
Grill your pancakes on medium-low heat (see recipe below for flipping and grilling tips). This morning my kids were asking for a special treat, so I sprinkled on mini semi-sweet chocolate chips right after dishing each pancake in the pan. You could also add blueberries or chopped nuts at this time.
We are big fans of cast iron pans in our home. Cast iron can be a little tricky when you are first learning how to use (it can get really, really hot); however, I love using cast iron for these pancakes and find it really helps with nice, even cooking.
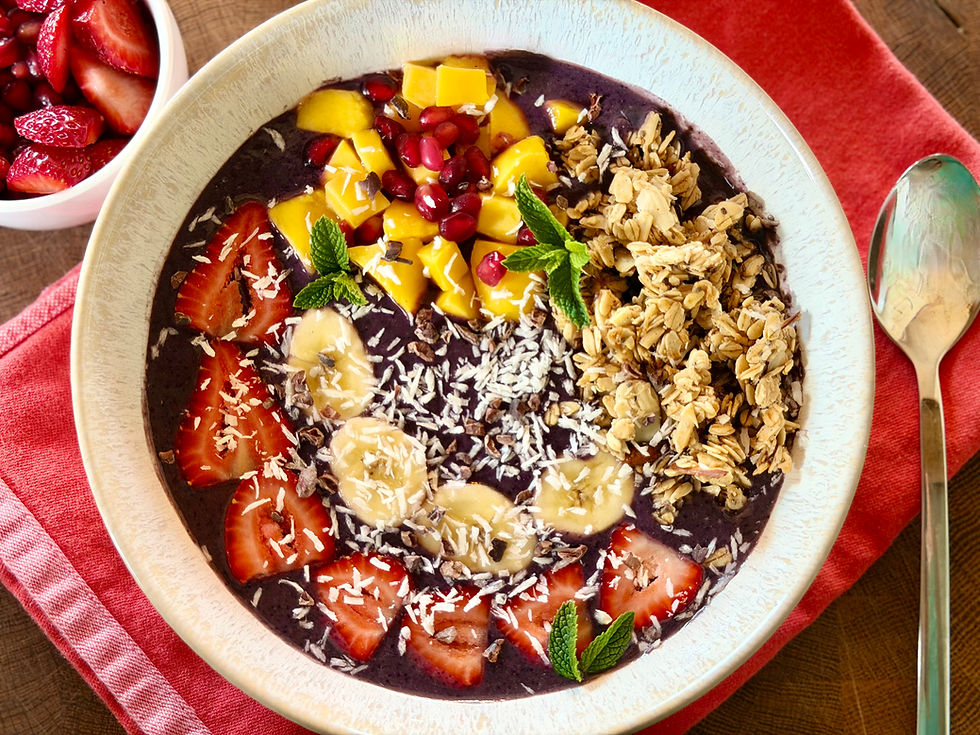
I like to finish my own with fresh berries. You could also drizzle some extra maple syrup at this time as well. Check out the full recipe below! Enjoy!

Storing and Reheating
Because this recipe contains a touch of almond flour and maple syrup, I find they actually hold onto their moisture better than traditional gluten-free pancakes and they don't seem to turn into dry cardboard when reheated.
You can keep these in the fridge for up to 5 days, and in the freezer for up to a month.
I find these are best reheated in my toaster over for a short time (1-2 minutes, just until warm) or in a pan on low heat. Just add a little bit of avocado or coconut oil before, and if you have a lid, cover them while they are warming up. This helps steam them a bit on the inside while still staying crisp on the outside.

Why Apple Cider Vinegar Helps with Lift
According to Shirley O. Corriher’s BakeWise: The Hows and Whys of Successful Baking (2008), the reaction between apple cider vinegar and baking soda provides essential lift in almond-based, gluten-free batters because this acidic activation creates immediate CO2 bubbles, inflating dense batter before baking, while the acetic acid neutralizes and evaporates, leaving a neutral flavor. Check out her awesome cookbook (not sponsored, just sharing a great resource)!


Comments